Click on pictures for larger size. Depending on your machine, you can use your figures to enlarge or shrink the picture, or there may be a '+' on the picture which will expand again and allow you to slide the large picture to see all of it. Click on the header arrow pointing left to go back to the regular screen.

Monday, February 26, 2018

Painting the Town Red

Nothing like a quiet Sunday morning with coffee in hand and a game on the table, all set to go.

The armies collide.
For those not familiar with the "Sawmill Village" scenario, two advance guards clash at a small town with victory going to the side (if any) that holds the town at the end. To avoid long term background story consequences, I just called the armies "Red" and "Blue" without getting into where, when and why the clash was taking place.

In the Scenarios for Wargames version, players choose 6 units from a list. Cavalry and light units are described as being half the size of infantry units so, since I have recently decided to up all units to 4 hits regardless of troop type, I placed two infantry "companies" per "unit", grouped into two to four company "Battalions". Grant notes that light infantry units should be able to break down into  smaller sub-units which my rules don't normally allow but I decided to try it.

Red fielded 8 infantry, 1 gun and 1 light infantry while Blue had 6 infantry, 1 gun and 2 light infantry.  Once the light infantry were split both sides ended up with 11 game units.
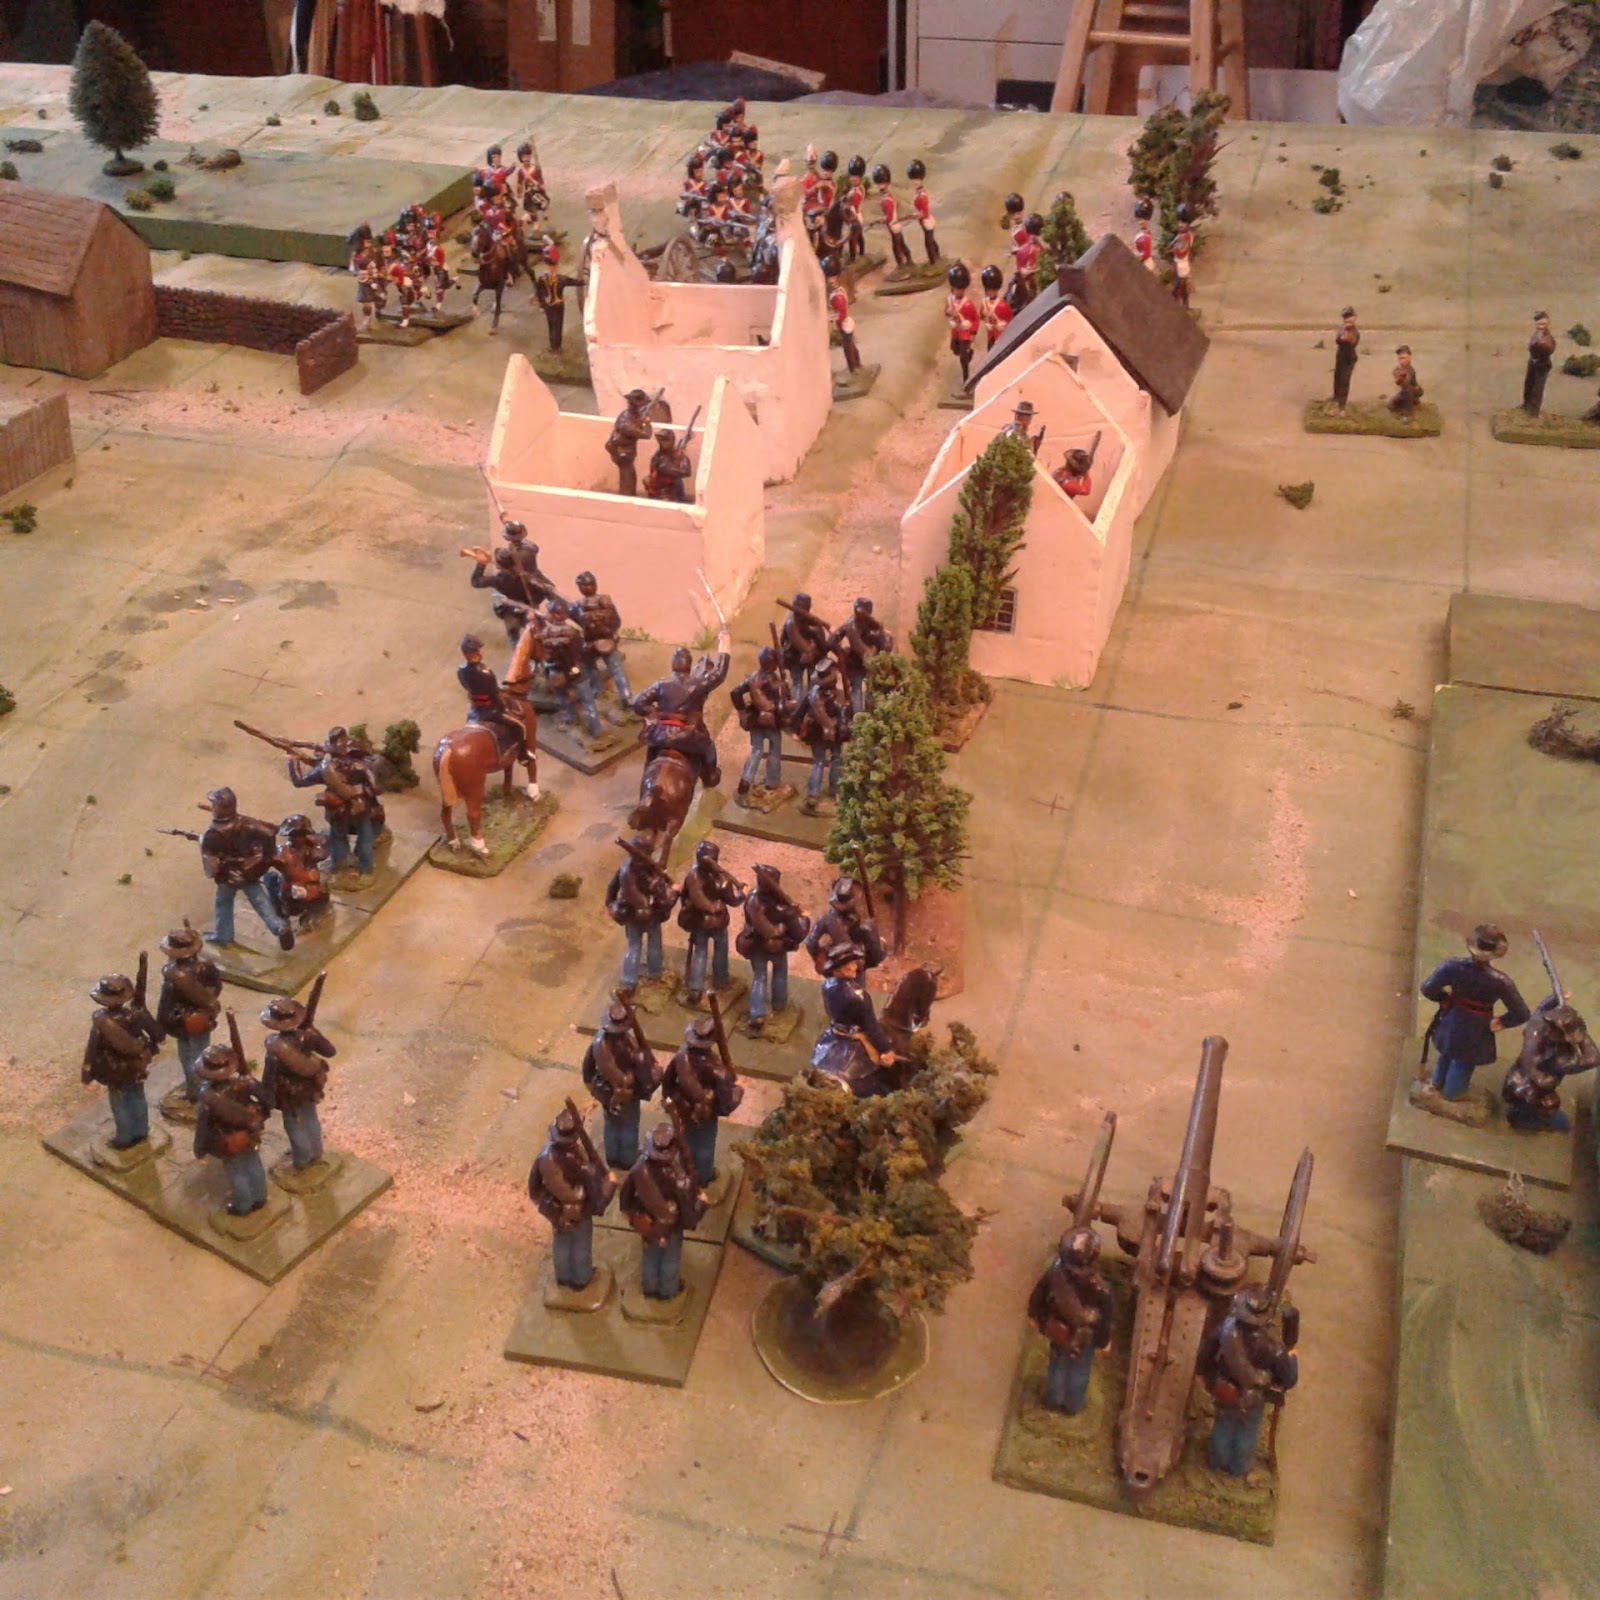
Blue's Skirmishers have grabbed the town as both armies deploy. They were soon reinforced but Red's Guardsmen soon drove Blue from the town.
The scenario begins with both armies marching down the road until they spot the enemy. Since neither side had cavalry present to race ahead, the opposing columns bumped into each other on the streets of the town. At that point I rolled to determine a basic battle plan for each side. 1-2 left hook, 3-4 push up the centre, 5-6  right hook. Red rolled a right hook, Blue a "hey-diddle-diddle, right up the middle" approach.

Blue retakes the East side of town but casualties are mounting and the counter attack stalls. 
The game was one of those ding-dong affairs where one side would grab what looked like a commanding advantage only to be knocked back while the other side surged ahead. Some of the buildings in town changed hands 4 times as well as being successfully defended several times.

Initially I thought Red's plan of attacking up the right might have been a mistake since it took so long to get in place. The fighting in the town surged back and forth though with little room for intervention and eventually the flanking force was in position to bring fire on Blue's reserves and rallying units and still be able to directly attack the flank of the town in support of the Fusiliers. Blue's reserves on the other hand were backed up and had to attack in waves until they finally opted to modify the plan to try and counter the Highlanders. Too little too late.
Red once again drives Blue from the town, this time inflicting heavy losses as the flank attack by the Highlanders comes in. Blue is forced to withdraw.
A brisk and very enjoyable game with a slightly stripped down version of the rules. I played 14 out of a potential 15 turns, with 11 units a side, in about an hour and 1/2.  Since this is one of the smallest scenarios I should easily be able to handle a scenario double the size or more in an afternoon.

Looking back through some old blog posts from 2012, I found that I had decided back then that a 5" square grid was my best fit as long as I did the work to make a table wider than 4 feet. Several times since then I've reconfirmed the right-ness of the 5" grid for my figures, basing and terrain. Its just taken me a while to investigate all of the next best, appearing easier, alternatives and dismiss them.

With an eye to the upcoming Huzzah! convention game, the next post will delve a bit more into the current version of the rules and the impact of rules focus on scenario size, pace and complexity and on the types of things I want to see players focusing on, especially at a convention.  

Saturday, February 24, 2018

An Old Saw (mill)

Finally things are settling down and I've had a few hours to get back to chasing things back onto shelves or at least out of the way. Its not done but the room is already more functional that it was.

Its time for a play break.
Sawmill Village about to be contested yet again!
Having spent a few minutes updating the Square Brigadier Quick Reference Sheet (click), it is ready for a proper test game. It would have made the most sense to get the 40mm WW1 guys out but I was in a mood for Guards and Highlanders. I wasn't in the mood for much more brain work so I fell back on an old favourite: CS Grant's Sawmill Village.

Largely by coincidence, my new 11 x 14 square tabletop grid matches the 5'x7' table used in Scenarios for Wargames at a scale of 1 cm on the map equalling a grid square on the table. That level of accuracy is, of course, not needed but it tickles my fancy to do so. Too bad it won't work with any of the other books.

The troops have just marched on to the table and will now bivouac until Sunday morning when all hell is likely to break out.

Tuesday, February 20, 2018

Half Time Show

Its been a busy few days with neither time nor energy to spare for my room. Tonight I found an hour for myself. I could have spent it tidying and organizing but......
The Cree warriors have galloped across the plain and are now creeping through the woods towards their exit point.
Only having an hour and minimal energy, I decided to get the 54's on table and hauled Thomas's One Hour Wargames off the shelf. I had a book mark on "Infiltration" which I had been planning to try a few weeks ago but hadn't. Looking at the open terrain with one patch of woods and a single hill, it looked like a scenario for the Prairies.

Black had a 4 unit raiding party moving on at the start with the aim of getting 2 units off the road exit on the other side. Road? OK obviously there must be a ravine or ford just off table.

Red ended up with 4 units of infantry,1 gun and 1 cavalry. A company of rifles manned an outpost on the sole hill. B battery and the Governor General's Bodyguard would enter from the road exit on turn 3 while the rest of the infantry would arrive by road from the opposite side a few turns later.


Turn 6: Every one is now on board. Its hard to see but there is a two contour hill behind the riflemen . 
The version of the Square Brigadier I had been using for the Northwest Campaign was slightly different in detail from the WWI version but I couldn't find a paper copy of either, or my dice and markers for that matter. Eventually I found a pair of dice and set too, fudging the rules as I went. (The regulars were fine but I had trouble  remembering what unit characteristics I had settled on for the Indians who were all mounted infantry but adverse to close combat.)

The Indians rode quickly across the table with the Victoria Rifles refusing to move without orders, turn after turn. Luckily the artillery and cavalry arrived in time to form a road block. A bit of a firefight broke out but that pair of dice seemed to be heavily waited towards scores of 3 or less.  Eventually the Indians charged the gun and dismounted cavalry, being repulsed by canister but breaking the cavalry who took 5 turns to rally. A second charge led by their War Chief took  the gun, opening the road. One turn earlier, the raiding party could have ridden off but with a flip in Initiative, the reinforcements were at hand and the dice had warmed up. Rifle fire broke two bands and the rest were cleared off with the bayonets and the swords of the finally rallied GGBG.

Turn 15, having rallied, the GGBG has charged and scattered the remaining Cree warriors.

With so few troops on such open terrain and such narrow victory conditions, it was a very quick game (about 30 minutes playing time) but it "hit the spot". It also confirmed  my decision to go with the 5" grid and make the table just a titch wider (14 x 11 5" squares). The old table had a more grid squares but the bigger figures and terrain fit better on the larger squares and the extra two 5" squares of depth that I was able to add after the move are just enough to make the difference.

OK, back to work!