Briefly, the reversion to an initiative die roll rather than cards felt welcome. The method of having both sides move followed by joint shooting and melee phases worked ok for a turn or two and then some small issues start to crop up which seemed to call for more complex reaction rules. The real issue came with combat though. I like the way 1/2ing casualties works and couldn't remember exactly why I dropped it in the past. I remember now, when there are enough dice flying its ok but when you get down to 1 die or even 2 or 3 you have to choose between rounding down and having no chance or rolling up and finding no difference. With die modifiers, the result of any given roll is hit or miss but over a number of turns or a number of combats, it makes a difference. There are other ways of doing things as well as the possibility of combing methods but I want to keep things dead simple and don't want to track partial hits or make saving throws and so on.
So by turn 3, I found the rules pretty much where they were 3 years ago, just slightly refined. I think that's about the 4th or 5th major change I've made only to have them snap back. The only really major change is that I think that I've finally succeeded in a workable but simple way to break the 3" melee resolution into separate fire fight and charge resolutions. Once again it revolves around introducing morale rules but so far it works.
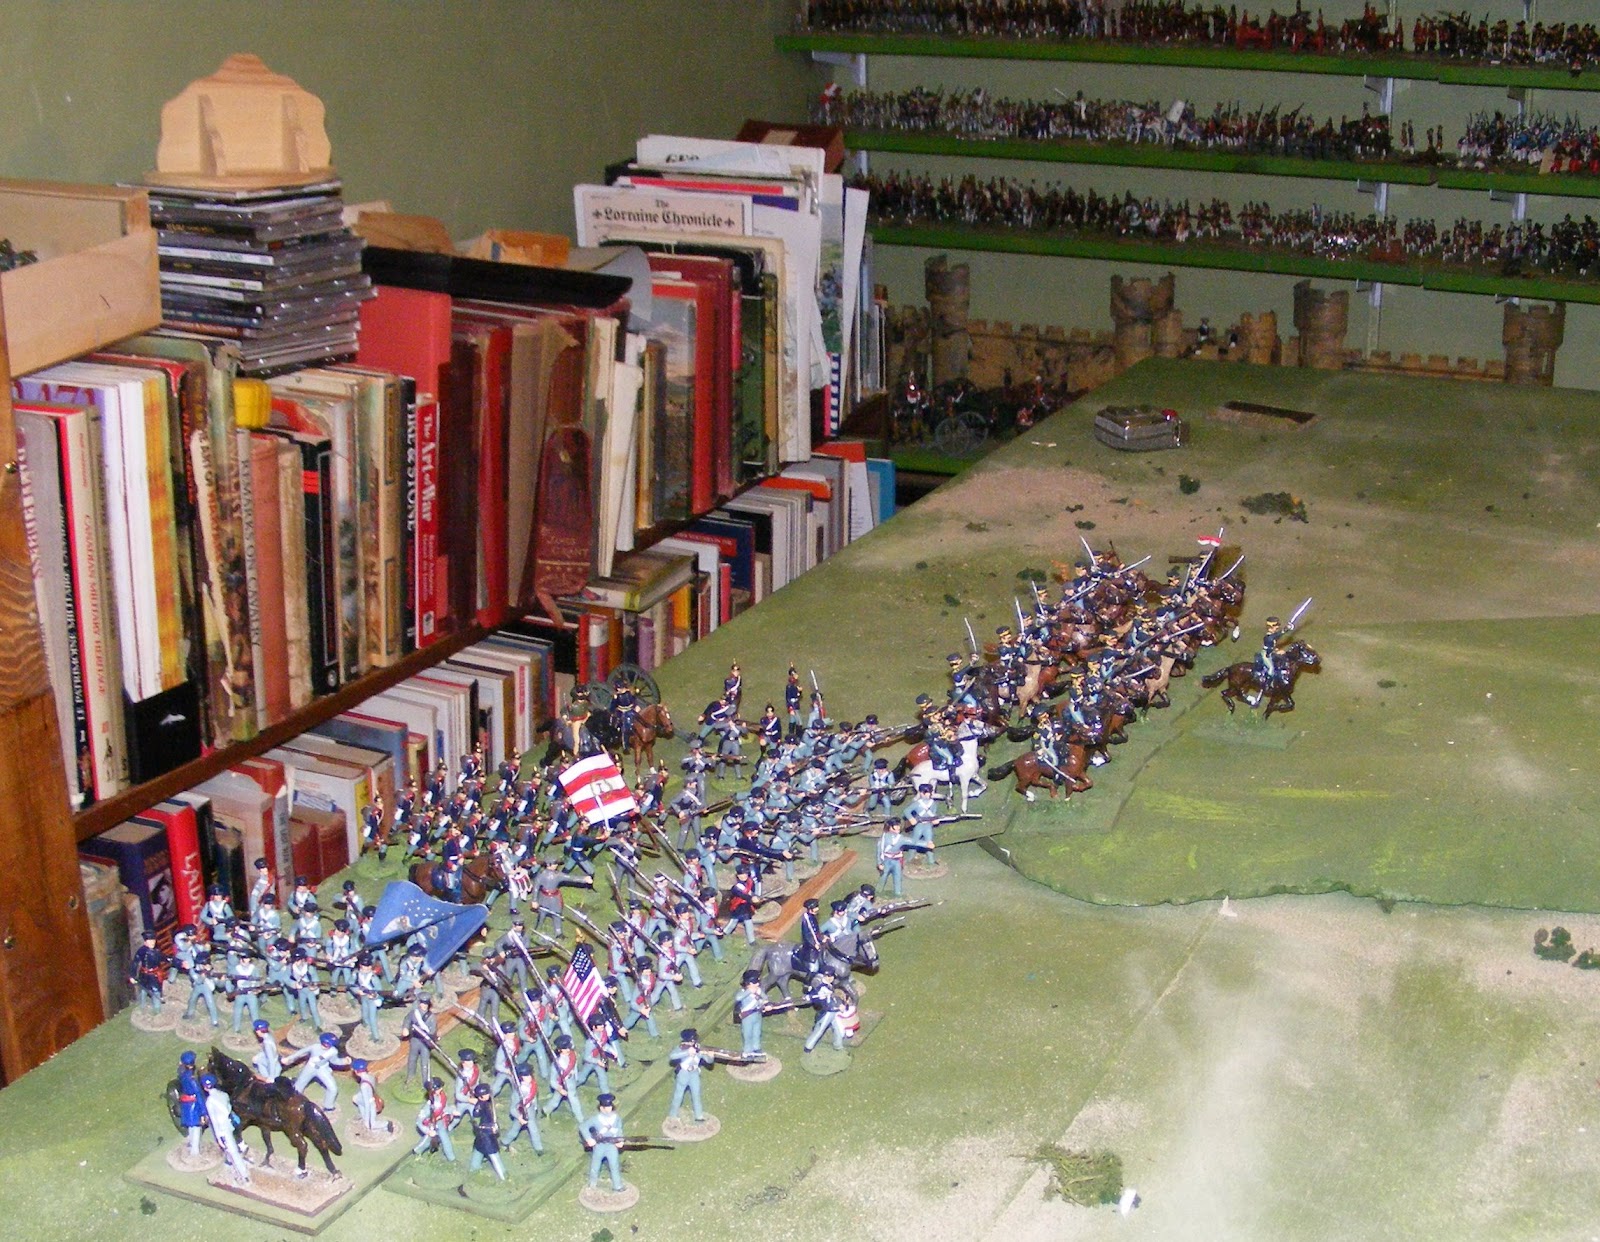
The US forces deploy.

The British march on.
The game itself was a simple encounter with both sides vying for control over the only crossing over the small but deep and fast running Little River. One of the nice things about setting a fictional game in the west is that there was no need to cram the board with either woods or towns. The hills were deemed to have flat tops but with steep slopes, making the slopes broken terrain, all except the hill that the US cavalry was occupying. By the time they had been maneuvering freely on it for several turns, I decided it must be open after all. The British started closer to the ford but were hampered by terrain.
Each army had 3 brigades, a cavalry brigade of 2 x 10 regular cavalry, an infantry brigade with 2 x 20 infantry + 1 x 8 riflemen, a brigade with 2 x 24 infantry, a field gun and for the British a Horse Artillery Rocket Battery and for the Americans, a Mountain Pack Battery. My intent had been to layout all personalities (after all their Oberhilse and Faraway names were doubtless pseudonyms) and finish the background before starting a game but sometimes events over take me and the game was the thing so I have pushed ahead.
I deployed the British then diced to find the US deployment (50% chance of the cavalry being in the center or on the left since the right made no sense, equal chance for the infantry in each sector but as luck with have it, all brigades began in the center. After deploying, I decided on 3 possible plans for the Americans, an attack in depth directly against the ford with the cavalry guarding the flank, an attempt to split the British center or an attempt to out flank the British right and roll up their line and wrote orders for each: . I then wrote orders for the British (2nd Brigade to advance with all speed, seize the ford then hold it, 1st Brigade to deploy and support their flank, cavalry to guard the open flank. ) and rolled for 1st move. The US came up and so I then rolled to pick a plan (direct assault on the ford) and started to implement. Whenever I felt that there was good justification for a change in plans, I laid out either 2 or 3 options and the odds of each then diced to see which order to issue.

The first shots in the Oregon War are fired.
The game began with some incredibly accurate rocketfire, 1 rogue rocket even finding its way to the target, and the 1st Dragoons began to suffer, especially once the British foot artillery joined in. In the center, some equally unlikely cannister and skirmish fire shook the Victoria Rifles and drove them back and all but out of the game. As the American infantry pushed forward, the firefight became general with the outnumbered Yankees holding their own at first. On the hill though, the time came for the cavalry to pull back or go forward, go forward it was but a barrage of 5's and 6's drove the 1st Dragoons back and a second volley of the same brought the 2nd Dragoons to a halt.

Sensing an advantage, General Ross ordered his cavalry to attack. The Governor General's Bodyguard spurred forward and up the hill then came tumbling back down. 5 dice to 3 and they couldn't even manage a draw. Larsen's Lancers took up the challenge and rode down the remnants of the 2nd Dragoons then started a sweep around the enemy flank.
In the center, the US front line was spent but still managed to hold off a British counter-attack. Coolly, the 1st Infantry fell back making way for the 3rd infantry to storm forward in column, Brigadier Schwartz at their head. On their left the Pennsylvanians of the King of Prussia Volunteers deployed into line and opened a tremendous fire driving back the 31st Foot but the Brigadier was shot down and the 3rd infantry faltered then fell back.

The Thin Red line awaits
It was time for General Ross to wave his hat, sending the 49th and the 104th forward. Their crashing volleys sent the Pennsylvanians reeling as Larsen's Lancers rode over the Lancaster Battery but the Bangor Rifles held firm and repulsed their charge. Looking about, General Daniels decided to save what he could and pulling the remnants of his shattered army together, he fell back towards South Pass, leaving the Little River ford to the British, for now.
The restored and buffed up version of Hearts of Tin as used for all but the 1st 3 turns has been loaded onto Google Docs. (updated 31st Oct)

Hip!Hip!Hip! Hooray!
ReplyDeleteA very satisfactory battle and I'm glad to see Brigadier Schwartz have joy of the day, he did not fare so well over on my blog.
I must admit to enlarging the photos to have a look at your bookshelf, I recognise a few old favourites, "Fire & Stone" in particular. Who wrote "Remarks on Cavalry"?
Ross Mac,
ReplyDeleteIt is interesting how one can design a set of rules, modify them in some way, modify them again because something new crops up ... and then end up almost back where you started. I cannot recall how many times that has happened to me.
I suppose it comes about because wargame designers are great 'tinkerers' and cannot resist 'making just one small change' when what they should be saying is 'it is right the way it is'.
We all do it ... and will probably continue to do so even though we know what is eventually going to happen!
All the best,
Bob
Indeed Bob, There always seems to be a better idea or at least a different one.-Ross
ReplyDelete