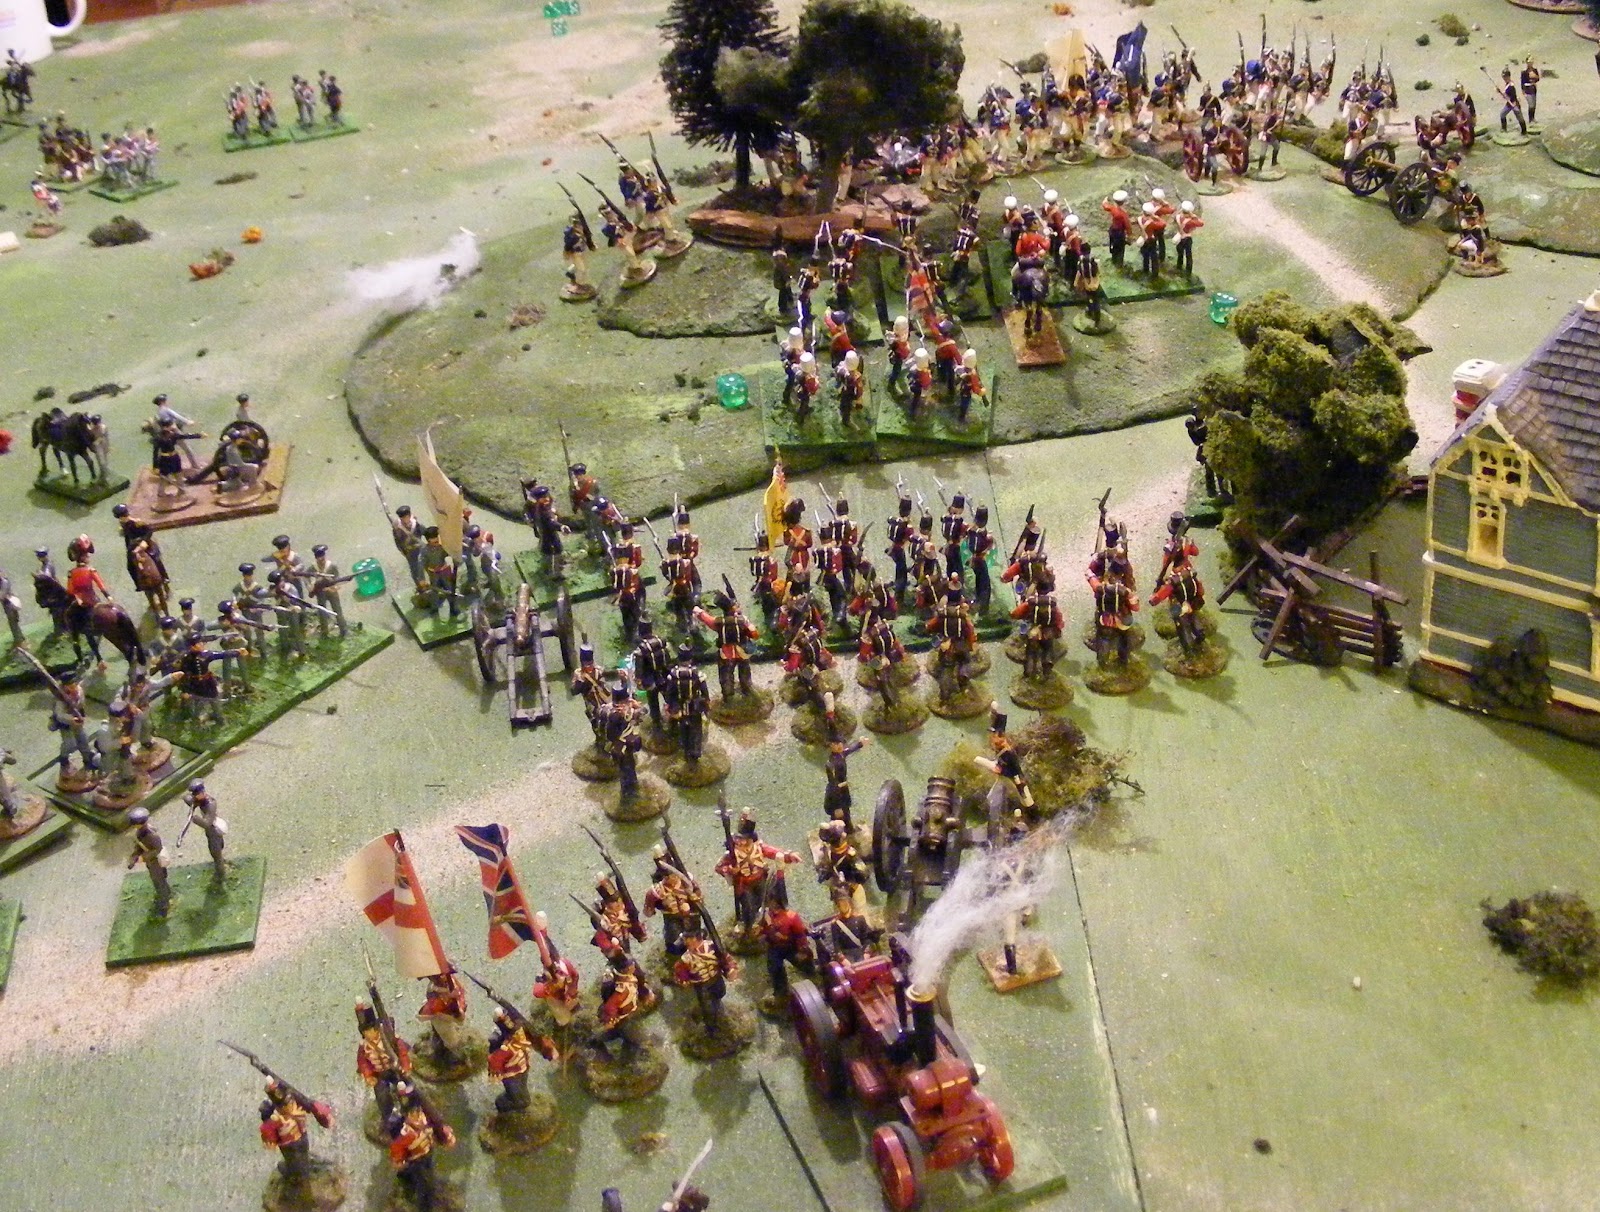
We left off as the American advance began. They stepped off smartly along a long the line, rolling 3 dice for movement and scoring 13's, 14's and up while the British columns crept along with rolls of 7 and less, also on 3 dice, only the road bonus moving them along. Both sides turned their guns on the opposing enemy, 2 dice each for 4,5,6. The Royal Artillery managing to keep all of their dice below 4 while the American gunners were hitting with 3 out 4 shots. Just one of those mornings.
By turn 3, the Americans were nearing the foot of the ridge and close range of the guns so they neatlly stole the initiative, rolled up for movement again and charged up the hill. (
Normally the side that wins the initiative has the choice of going 1st or 2nd but when playing solo I take the decision out of my hands and force the high roller to go first, a form of moral cowardice I'm sure but it does avoid accusations of favoritism.) To the west, the lancers had been unable to get entirely off hill (
what the heck were they doing on it in the first place given that it is a "terrain factor" for that matter why are the infantry deployed on the forward slope? ).

Making the best of a bad situation, the Colonel had kept 1 troop on the hill, deployed one squadron of 2 troops to face the oncoming American cavalry and deployed a 2nd Squadron in reserve. On the American side, the bugles rang out, the 1st Dragoons raised their sabers, and charged to be met by less than 1/2 their numbers of Lancers. With a Whoop, the Mounted Rifles rode past them and galloped towards the infantry columns on the road. Fresh from the drill camps, the Fencibles coolly formed square. (Here was the first rules twinge, in an attempt to eliminate double jeopardy as far as possible, I had removed the die roll to see if the infantry would form square or not. The idea being that the loss of the ability to carry out defensive fire woudl make the hasty square a bit weaker anyway and that if it broke then probably it had been caught partially formed. Now I was wondering, was I right? On one hand, one could argue that the cavalry surprised the infantry in march column, suddenly appearing from beyond the hill and the lancers, on the other hand, with the turn flip, the cavalry had advanced across 5 feet of ground or nearly a mile, in plain sight and while the general may not have ordered them to stop their march to the hill, assuming that the lancers would slide over and protect them as ordered and expecting the infantry to have been a foot or so further down the road in any case, surely the Brigadier or Colonel would act in self defense to the obvious threat? ) In any event, the American Colonel, aware of the overwhelming number of enemies and the supporting cavalry not far off, hedged his bets and charged in with 3 troops leaving 2 in reserve in case he should be repulsed. The British had 4 stands with an enemy within 3" of their front (over enthousiams on the part of the Americans, they should have paused 3" away to see if the infantry wavered this would have reduced the defending dice, but no they charged right in against 3 faces of the square.) In short the British ended up rolling 9 dice, mostly looking for 5 or 6. They managed 1 hit. Uh oh. Well the Americans were at 1/2 effect against a square they would have to hit with every die to win. Almost! They scored 2 hits. A difference of more than 1 is required now to win a melee and the cavalry rallied back, covered by their reserve.
At the same time, the Dragoons had crashed into the unlucky lancers, these rolled 4 dice for 5,6 and scored
1 hit. (uhoh again) Then the Dragoons rolled, 3 troops were within 3" and arc, 2 more were off to the flank. 8 dice in total, when the dust settled, only 2 hits! A drawn melee and both sides rallied back behind their reserves. A bullet dodged.
Cavalry rallying back on all sides
Meanwhile the US troops rushing the hill, braced themselves for a hail of defensive fire. The British infantry and artillery had 2 dice per company/battery plus an extra die because the Americans were climbing a steep hill and thus spending more time under fire. 18 dice against one enemy brigade, 16 against the other due to losses from artillery fire looking for 5 or 6 and with losses being removed before the Americans could fight back. (the artillery has since been boosted to 4,5,6 to better reflect the effect of point blank cannister). It has been said that its hard to shoot down hill, the troops tend to aim too high and send their bullets over the enemy heads. There were casualties but none of the American units lost a stand. Uhoh! The American line, 4 regiments wide, overlapped the British on both flanks and mustered something like 18 dice against each battalion. This could be it, the battle could be won and lost before it was properly started but when the dust settled, the melee was drawn. The American attack had been held and a point blank firefight was raging up and down the line.
The fight rages.
Breathing a huge sigh of completely impartial relief, I turned to the British. Should they hold in melee? or pull back? The advantage of the hill was lost now that the 2 sides were locked in close combat and with losses, the advantage had gone from 2:1 to nearly 3:1 against. The Brigadier sent out the word and the line pulled back, covering the retreat of the guns. several being abandoned to the enemy. (well ok they were unspecified hits on the artillery but we know what the American dispatches and press would say, people still argue about cannon captures at Lundy's Lane).
The 2nd brigade, taking a bit of a risk, followed orders and resumed their march to the hill while the GG's Bodyguard rode out of town and as specified by the scenario, stayed on the road fir their first move, ignoring the enemy but being caught in a bit of a traffic jam. (hmm maybe I should have sent the cavalry out 1st like I usually do.). If the Americans win the initiative again then the British may still be in trouble.
Nope, the Brits win the initiative again. The 49th Foot reforms on the reverse slope and prepares them selves, the 26th open an effective fire from the crest of the hill as their accompanying battery comes back on line. The Victoria rifles get a move on and reach the foot of the hill at last. The cavalry forms across the gap, the rockets gallop forward and the 41st emerges from town. It is the US half, the 2nd Dragoons press forward while the Mounted Rifles have a gallop for the rocket battery. They are met by Lancers and Bodyguards and a confused swirling mass of charges and counter charges begin. On the hill the attackers hang back, tuckered out perhaps by their rapid approach march and storming the hill, they roll 4 on 3 dice, halved for rough ground and they are unable to come within melee range. The Ohio regiments do no better.The situation is stabilized for now but the American commander has ordered his reserve forward.

The British maintain the initiative and pull back the 26th Foot, worried that losses may shake the brigade. The Victoria Rifles swarm onto the hill and open fire, bringing down 2 crows and a stray goose that was flying by. The British cavalry eventually gets the upper hand but losses are high on both sides. Eventually the Lancers and Mounted Rifles are each in turn Shaken then Broken but while the American Dragoons are reduced to 1 stand above being shaken, the Bodyguard only suffers 1 hit.


On the hill, the American line surges forward again. On the left, the regulars sweep over the crest and down onto the 49th which tumbles back down the hill. On the right the Ohioans are hit by a blast of rifle fire and fallback. This nicely tested one of the new rules which taking into account the timeframe, allows skirmishers to stand and fight, aided but the bonus for defending the difficult hill, 3 stands of the skirmishers rolling 9 dice were able to repulse the attack of 8 enemy stands rolling 16 dice but only by rolling extremely well and they suffered 75% losses while doing so.(Luckily for them morale is by Brigade) The triumphant remnant declined to pursue down the hill.
. Once again the initiative flipped and while the Ohio regiments rallied at the foot of the hill, the 4th Brigade stormed forward, held by cannister, a prolonged struggle ensued.
On the American left flank, the 1st Brigade surged forward (exceeding their orders now that I think of it). Like 2 punch drunk boxers, the 49th Foot and the 1st & 2nd Infantry squared off and traded long range fire till both were shaken by losses.
Issuing a flurry of new orders, the British commander left his 2nd brigade to retake the center of the hill while directing the 3rd brigade to clear off the American flanking attack. While the American Dragoons are rallying, they were hit repeatedly by rockets from the surprisingly accurate !? Horse Artillery Battery and are shaken by their losses. With the enemy cavalry neutralized, the Bodyguard were dispatched to restore the British right. The final struggle was about to begin.
Traffic jams develop as the British are pushed almost completely off the hill and are flanked on their right.. The stricken body of General Wavey may be seen in the background, struck down during the last melee. He was shortly carried off while the senior Major took command of the Dragoons until he in turn was caught in the blast of an exploding rocket.
Next post, the British Counter Attack and the final fate of Belmont Ridge