The final review in this series of reviews of 3d printed figures is:
Medieval Sir William Wallace 28/40mm
see Day of Battle Medieval Scottish Range On Line Catalogue (click)
Since I tend to do a lot of conversions, I decided that I would see how easy or hard it is to work with resin figures. The figure comes dressed and equipped as a 13th/14thC knight. Being a Character and Hero, he is helmetless which was good for my purpose, which was to turn him into a Captain of Light Horse for my 16thC Scots.
 |
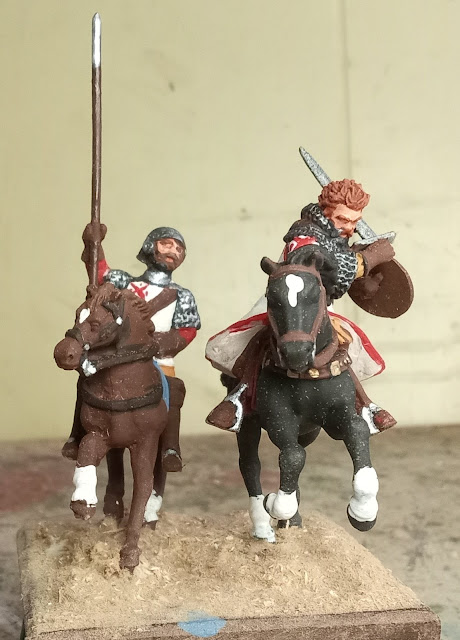
| Sir Wee Wullie Lennox charging into battle. |
The 16thC was a time of transition and it seems that a mix of old and modern weapons and equipment was not unusual, something that made this conversion practical and easy. The surcoat is definitely dated for the 16thC but wearing kneelength coats was in fashion, sometimes opening down the front. If the figure was less dramatically posed I would have tried to capture that look but decided to just sand, scrape and cut the chainmail from his leggings and hauberk. I had intended to use putty to shape the boots but found myself able to do it by carving and sanding.
The figure comes with a separate "heater" shield which luckily I could set aside with no work at all. I was going to let him go shieldless, but there was a strap for the shield, nicely sculpted on and unable to be removed without messing with the chainmail it touched. Since many 16thV Scots and English light horse still carried round bucklers, I just dug one out from the spares. I think this one might have once been a 25mm Dark Age shield, but its a 16thC buckler now. Wallace's resin shield took its place in the spare shields box because... well, you never know when you might want one.
 |
Before conversion.
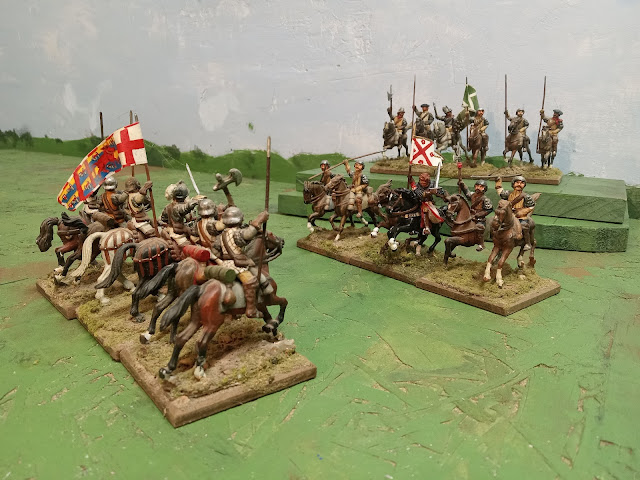
(btw The Scots lancers in the background are amongst the 1st figures I cast from a mould that I made, roughly 20 years ago. The master was a heavily converted Meisterzinn napoleonic figure but the head was one of the first original heads that I sculpted.) |
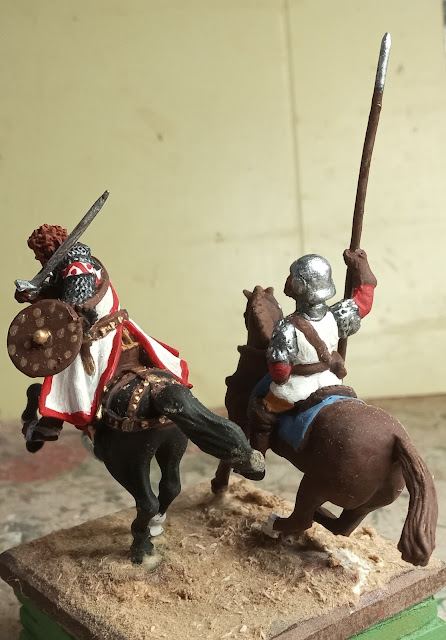
In the process of preparing the figure, I managed to drop the poor guy and his faithful horse. Naturally, the horse's tail hit the floor first. OUCH! (I've always been a bit of a clutz but its seems that the faster my eyes fade, the shakier and less firm my grip is on brush or knife. ) It took me minute or so to find the tail then several seconds to drill a hole in the tail and in the part of the horse that it connects to. A piece of wire and some superglue, and all was as right as rain in a minute.
Resin is definitely easier to drill and shave than most metals and adheres to glue well, doubtless the light weight helping. In fact it was alot like working with the hard plastic Elastolins and the few newer hardplastic figures that I've worked with, but easier and less fragile.
 |
| Look at that horse! Like a bronze statue. The rearing metal horses I have seem to have a tendency to droop over the decades as opposed to the Elastolin plastic ones who have been rearing proudly since I was knee high to....... |
Overall, I was impressed by this figure, the details (before I tampered) all looked correct to me and the sculpting of the dramatic pose was excellent. He looked good before painting but even better afterwards, (despite the wobbles) So, there he is! 5 stars! *****
So now my Scottish cavalry has a second commander and can form two troops of 3 stands, each with a leader. I sense there's another English incursion coming but there should be time to add some more pikemen before the armies clash on my the table sometime this month!
***********


